Night-time is a hard but exciting time to illuminate the magical nature of a destination. From bustling city streets to lustrous night skies, the glow of neon frames the dark. Learning how to perfect your photos in the evenings can change your accidental blurry mess-ups into gorgeous art pieces. Get our complete guide to low-light camera settings and tips. So, let’s reveal the secrets of shooting night scenes like a pro!
Understanding Night Photography: The Basics
Night photography is a dance with shadows, unlike the sunlit waltz by day. The dark canvas demands a fresh set of camera settings. Embrace the challenge of reduced light, adjusting to its whims. Your mission: capture brilliance while keeping noise and blur at bay.
Key Factors for Great Night Photography:
- Light sources: Streetlights, neon signs, car headlights, and moonlight weave a tapestry of depth and drama in your shots.
- Stability: A steady camera is the backbone for sharp, striking images.
- Manual settings: Auto mode falters in the shadows, so embrace manual adjustments for mastery.
- Post-processing: Editing software transforms your photos, sharpening details and diminishing pesky noise.
Quick Recap for Amazing Night Photos:
- Use a tripod for stability.
- Adjust ISO carefully to reduce noise.
- Experiment with long exposure for creative effects.
- Take advantage of available light sources.
- Edit your shots to enhance details.
Armed with these skills, you’ll seize the magic of midnight moments. Grab your camera, enter the enchanting darkness, and create stunning nightscapes! Let your lens revive memories that sparkle like stars in the night sky.
Quick Guide: Night Photography Essentials
- Use a tripod for sharp, blur-free shots.
- Choose a fast lens with a wide aperture (f/1.8 or f/2.8).
- Set a slow shutter speed for light trails or starry skies.
- Keep ISO low to reduce image noise—adjust as needed.
- Use manual focus and white balance for control.
- Look for reflections and leading lines for strong composition.
Pro Tip
When shooting stars or nightscapes, use the “500 Rule”: Divide 500 by your lens’s focal length to get your max shutter speed (in seconds) before stars start to blur. For example, with a 24mm lens: 500 ÷ 24 = 20.8 — keep shutter speed under 20 seconds.
Important
Night photography is about patience and experimentation. Don’t get discouraged if your first shots don’t turn out perfectly. Use each attempt to learn how light, timing, and movement shape your final image.
Essential Equipment for Night Photography

Before you embark on your night photography journey, ensure you have the right gear.
1. Camera with Manual Controls
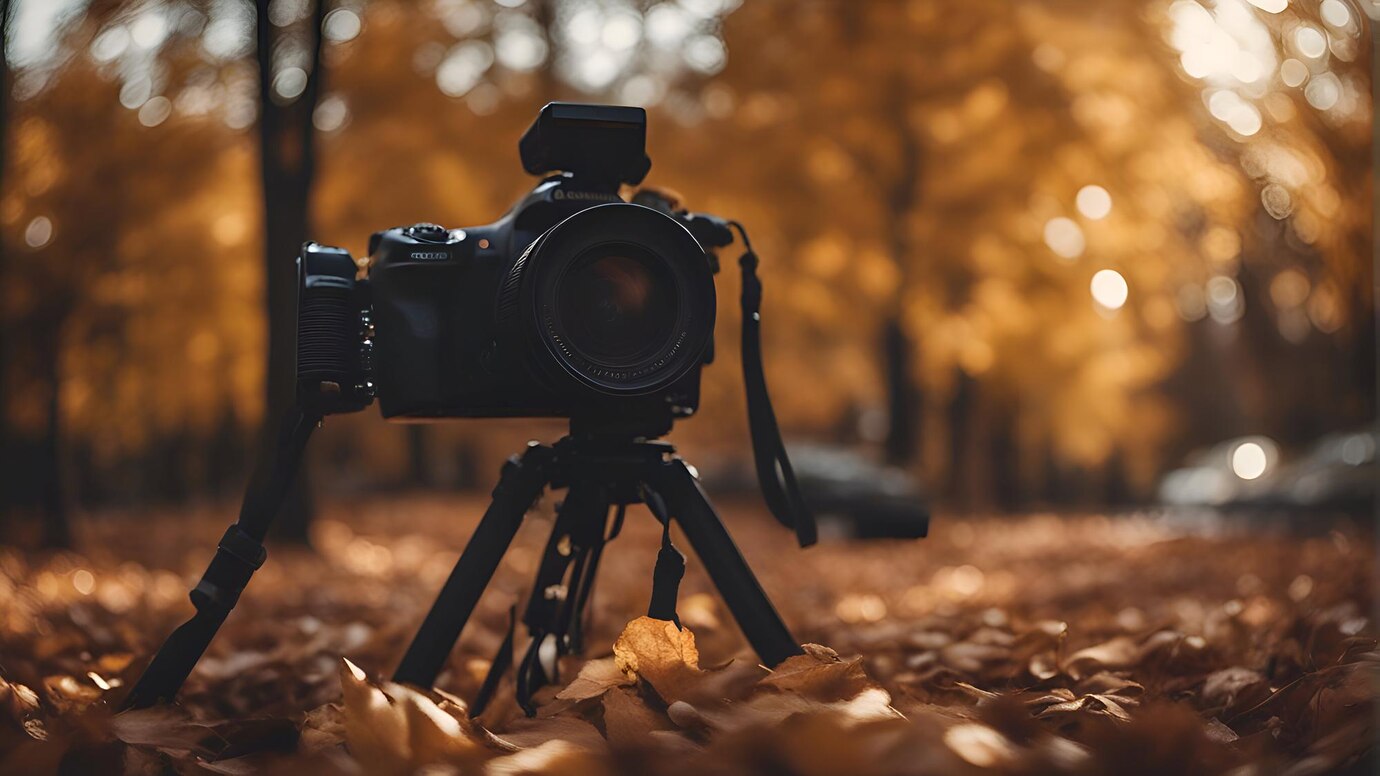
Capture the magic with a DSLR or mirrorless camera in manual mode. Though some smartphones shine bright in low light, nothing beats a dedicated camera. It grants you the power to control every setting, crafting images that truly sing. Unleash your creativity—own the night!
2. A Fast Lens (Wide Aperture)
A lens with a wide aperture (e.g. f/1.8 or f/2.8) allows more light to enter, improving image quality in low-light conditions.
3. Sturdy Tripod
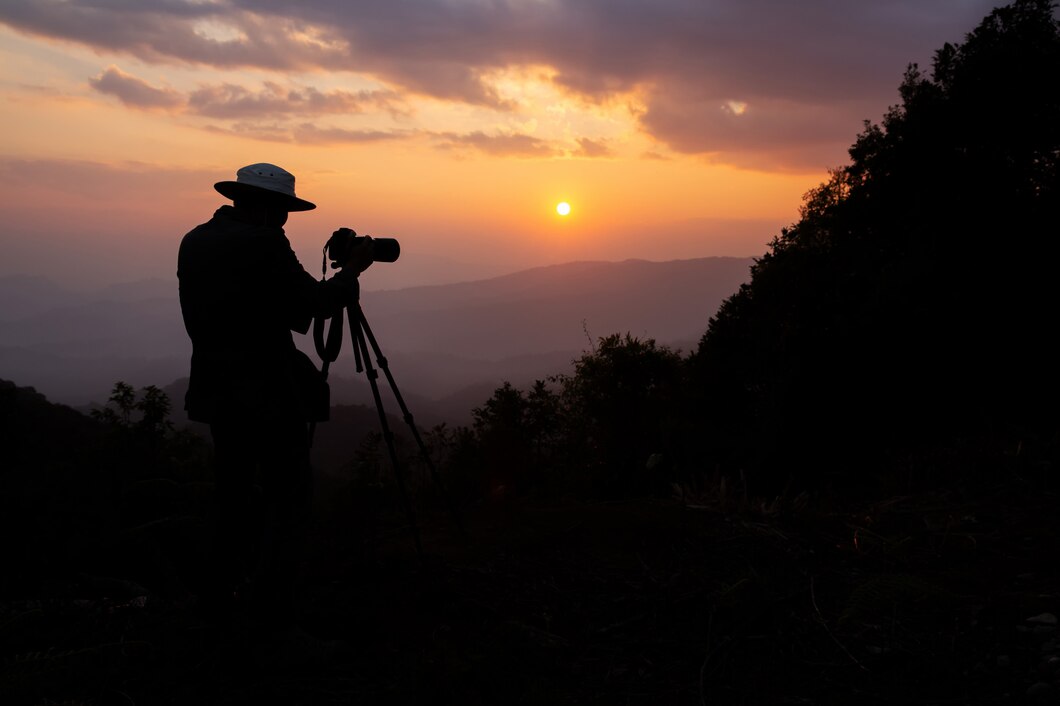
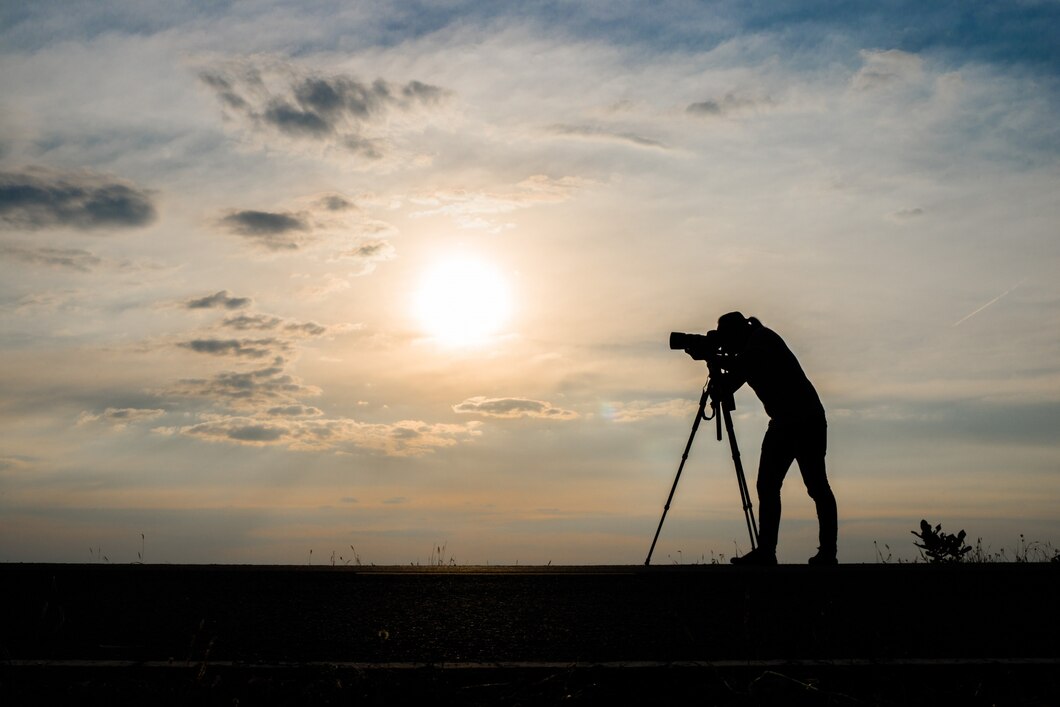
Long exposure shots require a stable surface. A lightweight but sturdy tripod is essential to prevent camera shake.
4. Remote Shutter Release or Timer
A remote shutter release or a self-timer prevents unintentional camera movement when pressing the shutter button.
5. Extra Batteries and Memory Cards
Long exposure shots drain battery life quickly, so carrying extra batteries ensures you don’t miss any opportunities.
Best Low-Light Camera Settings for Stunning Night Shots
Adjusting your camera settings is crucial for achieving well-exposed night photos.
1. Aperture: Use a Wide Aperture
A wide aperture (low f-stop number, e.g. f/1.8 – f/2.8) lets in more light, reducing the need for a high ISO.
2. Shutter Speed: Slow It Down
Longer shutter speeds (e.g. 1-30 seconds) allow your camera to capture more light. This is perfect for cityscapes, star trails, and light trails from moving vehicles.
3. ISO: Keep It Low to Reduce Noise
Start with a low ISO (e.g. 100-400) and increase as needed. A higher ISO (e.g. 800-3200) brightens the image but can introduce noise.
4. Focus: Switch to Manual Focus
Autofocus struggles in low-light conditions. Use manual focus and adjust until your subject appears sharp.
5. White Balance: Adjust for Natural Colours
Set your white balance to Tungsten or Fluorescent to prevent unnatural yellow or blue tones in artificial lighting.
Night Photography Techniques for Different Scenes

Different nighttime scenes require specific techniques to achieve the best results.
1. Capturing Cityscapes at Night
Urban environments provide great opportunities for night photography with illuminated buildings, neon signs, and bustling streets.
Best Techniques:
- Use a small aperture (f/8 – f/11) for sharp cityscapes.
- Experiment with long exposures (5-15 seconds) to create light trails from moving traffic.
- Keep ISO low to reduce grainy textures in darker areas.
Bonus Tip:
- Look for reflections on wet streets, windows, or puddles to add depth to your composition.
2. Photographing the Night Sky and Stars
You need the right settings and a good location to shoot the Milky Way, constellations, or the Northern Lights.
Best Techniques:
- Use a wide aperture (f/2.8 or lower) to allow in maximum light.
- Set a slow shutter speed (10-30 seconds) to capture faint stars.
- Choose a higher ISO (1600-3200) to brighten stars without overexposing the sky.
- Find locations away from city lights to avoid light pollution.
Bonus Tip:
- Use apps like PhotoPills or Stellarium to plan star photography. Check moon phases and weather conditions for the best results.
3. Creating Light Trails and Motion Blur
When lights move from cars, ferries, or amusement parks, they create vibrant light trails.
Best Techniques:
- Use a slow shutter speed (5-30 seconds) to capture motion blur.
- Place your camera on a tripod for a stable shot.
- Experiment with different angles to make trails more visually interesting.
Bonus Tip:
- Adjust your exposure compensation to fine-tune brightness in your scene.
4. Shooting Portraits in Low Light
Taking portraits at night can be tricky due to low visibility, but the right approach can create stunning, moody images.
Best Techniques:
- Use a wide aperture (f/1.8 – f/2.8) to focus on your subject while blurring the background.
- Position your subject near a light source like a streetlamp or neon sign.
- Use a reflector or external light to add subtle illumination to the face.
Bonus Tip:
- Experiment with backlighting to create silhouettes for dramatic effects.
Post-Processing Tips for Night Photography
Editing plays a crucial role in enhancing your night shots. Here are some key adjustments to make:
1. Reducing Noise
Use software like Adobe Lightroom or Photoshop to reduce noise without losing detail.
2. Adjusting Exposure and Contrast
Increase brightness and contrast to make dark areas more visible without overexposing highlights.
3. Enhancing Colours
Fine-tune the white balance to ensure natural-looking colours in artificial lighting.
4. Sharpening Details
Use sharpening tools to highlight finer details, especially in cityscapes and star photography.
Common Mistakes to Avoid in Night Photography
1. Using Flash Incorrectly
Built-in camera flashes can create harsh, unnatural lighting. Instead, use external lights or adjust settings for better exposure.
2. Not Using a Tripod
Handheld night shots often result in blurry images due to longer shutter speeds.
3. Overexposing Bright Lights
City lights or car headlights can become blown out. Use spot metering to balance exposures.
4. Ignoring Composition
Frame your shots thoughtfully, using leading lines and reflections for added depth.
5 Frequently Asked Questions (FAQs)
- What’s the best camera for night photography?
A DSLR or mirrorless camera with manual controls and good low-light performance is ideal. However, newer smartphones with Night Mode can also produce impressive results. - What shutter speed should I use for night photography?
It depends on the scene. Use longer exposures (5–30 seconds) for cityscapes and star trails. For portraits, use faster speeds (1/60–1/200) and rely on external light sources. - Can I shoot night photos without a tripod?
It’s possible, but not ideal. If you don’t have a tripod, stabilise your camera on a flat surface and use a timer or remote shutter to minimise shake. - How do I avoid noise in night photography?
Keep your ISO as low as your exposure allows. Use a wide aperture and slow shutter speed to compensate. Post-processing software can also help reduce noise. - What’s the best time to shoot night photography?
Just after sunset (blue hour) offers a beautiful balance of light and colour. Full darkness is great for stars and light trails. Use apps to plan around moon phases and weather.
Final Thoughts: Mastering Night Photography on Your Travels

Night photography transforms the ordinary into a realm of enchanting possibilities. With the right techniques, you can unveil a destination’s hidden magic. Master the art of low-light settings and practice your craft; stunning images await. Each shutter click freezes moments that shimmer in the dark, ensuring your shots truly stand out. Dive into the nocturnal world, where creativity dances with shadows and light.

